Loctite Henkel Premium Partner
 Free delivery from 600 EURO to EU Countries*
  +48 509 336 666


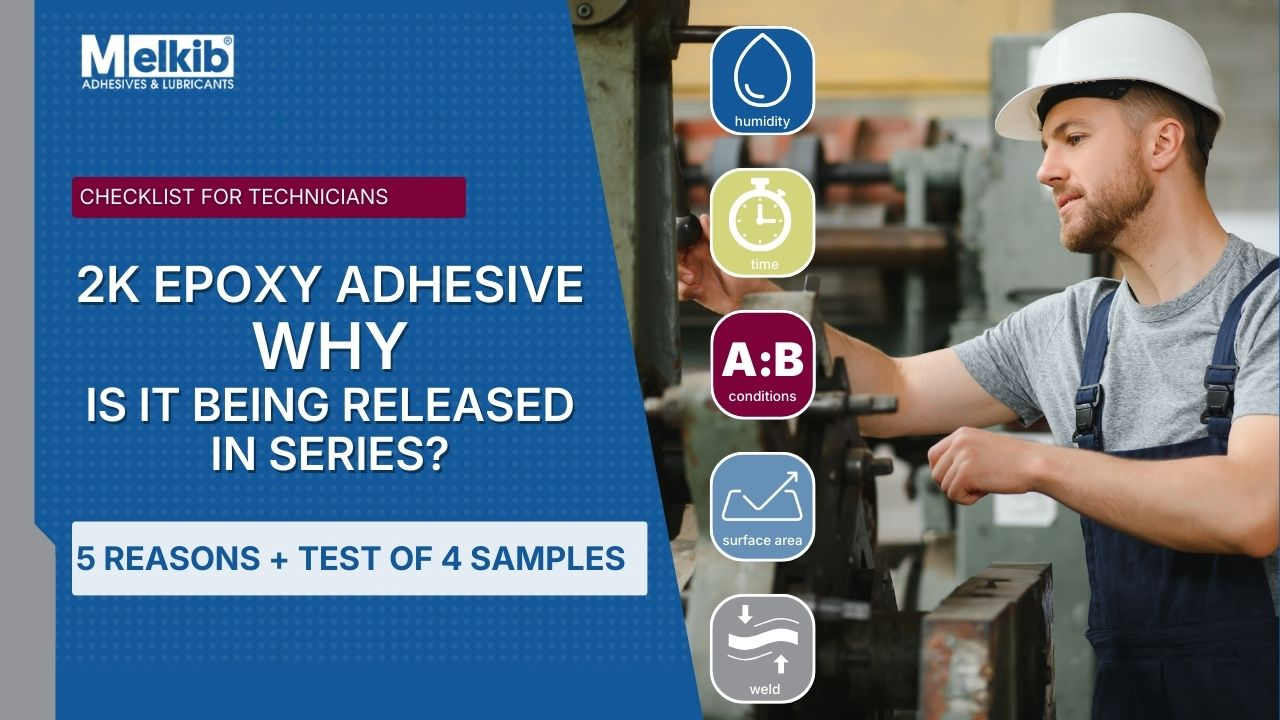
From Prototype to Production: Why Do Epoxies Fail in High-Volume Manufacturing?
This scenario is familiar to every process engineer: a prototype passes validation testing (per ASTM D1002 or ISO 4587) with excellent results. Clean specimens, controlled lab temperature, perfect dispensing. Then the process moves to serial production: cycle-time pressure appears, shop-floor conditions vary, and operator turnover increases.
The result? Market complaints and the question: “What’s wrong with this adhesive if it worked in the tests?”.
The good news is that, with structural 2K epoxies, the issue rarely comes from a chemical defect in the product itself. The bad news: the root cause is usually process physics—parameters that are harder to control in high-volume production than in R&D: surface preparation, bond-line geometry, mixing stoichiometry, and environmental conditions.
Below is an engineering root cause analysis of bonded-joint failures.
1. The “Defective Adhesive” Myth: Adhesion vs. Cohesion
When a joint fails, the natural instinct is to suspect the material batch. However, before switching to a “stronger” adhesive (which typically requires revalidation), first identify the failure mode.
- Cohesive failure: The adhesive cracks “within itself,” and both bonded surfaces remain covered with adhesive. This indicates adhesion was acceptable; the issue may be joint overload or improper curing.
- Adhesive failure: The adhesive detaches “cleanly” from one of the substrates. This is the key warning sign. Changing the adhesive will not help. The problem is surface preparation, wettability, or contamination.

Fig. 1. Failure statistics reveal a hard truth: most issues are process-related, not chemical defects.
2. Process Risk Map: What You Won’t See in the Technical Data Sheet
High-volume production introduces variables that are negligible in the lab: fluctuations in surface energy (e.g., different sheet-metal batches), micro-contamination from transport, and changes in humidity.
Two epoxy-critical parameters that are often missing from work instructions:
- Time from cleaning to bonding: Even a perfectly prepared surface passivates over time and absorbs moisture from the environment. If a part sits over the weekend before bonding, recleaning is mandatory.
- Dew point: If parts come from a cold warehouse into a warm shop floor, an invisible moisture layer can condense on the surface. Applying epoxy onto a “wet” part virtually guarantees degraded adhesion.

3. The Ratio Trap: Why “More Hardener” Destroys the Joint
A common shop-floor myth still circulates: “Add a bit more component B (hardener) and it will grab faster.” For 2K epoxies, this is a critical mistake.
Epoxies cure via a chemical reaction (stoichiometry). A 1:1 ratio (or the manufacturer-recommended ratio) means each resin molecule has its “counterpart” in the hardener.
- Excess hardener does not accelerate the reaction. It remains in the bond line as an unreacted compound.
- Result: the joint becomes brittle, and thermal and chemical resistance decrease.
If you use dispensing systems, gravimetric calibration (not volumetric!) is essential. When working with cartridges, the quality of the static mixer is critical—it determines mixture homogeneity.

4. Geometry: Bond Line Thickness (BLT)
Epoxy is not a weld—it doesn’t perform best when there is “as little as possible,” nor when there is too much. Every structural adhesive has an optimal working thickness (typically 0.1–0.5 mm).
- Too thin: the adhesive is squeezed out (“starved joint”), leaving insufficient stress-transfer layer.
- Too thick: air entrapment risk increases, and cure shrinkage generates internal stresses within the bond line.
In serial production, the solution is to use spacers (e.g., glass beads in the adhesive) or mechanical stops in the fixture/tooling to enforce a repeatable gap.

5. How to Diagnose Without Guesswork: The Four-Sample Method
Instead of stopping production and switching to a different adhesive, run a quick diagnostic test (variable isolation). Prepare four sets of samples on the same day:
- Line (Reference): current process, current operators, current cleaning (your baseline).
- Surface: same adhesive, but the part prepared “laboratory-grade” (abrading + dedicated cleaner/degreaser).
- Mixing: line-prepared part, but adhesive mixed manually to the ideal gravimetric ratio (eliminates nozzle/dispenser errors).
- Geometry: enforced, constant bond-line thickness (e.g., 0.2 mm spacer wire).
The results will tell you everything:
- If sample #2 holds perfectly → you have a cleaning issue or surface passivation on the line.
- If sample #3 is the best → your dispensing system or mixing nozzles require service.
- If sample #4 wins → operators are applying too much or too little clamping pressure.

Summary for Process Engineering and Maintenance (UR)
A stable bonding process is not magic—it’s chemistry and physics. To prevent complaints:
- Surface audit: Check how much time passes between cleaning and bonding. Are you using cleaners that evaporate quickly and leave no residue?
- Dispensing control: Implement a “test shot” procedure for a new nozzle (discard the first 2–5 ml of adhesive).
- Consistent geometry: Does your tooling enforce a repeatable gap, or do you rely on operator feel?
Products that can help achieve durable bonding:
[product id= "3652, 1955,4886,1969,1962,3526"]
Recurring issues with joint delamination? Don’t guess. Contact us — we can help audit the process, recommend the right chemistry (cleaners/degreasers, adhesives), and train your team on correct application.

About the author
Maciej Klus, Product Manager at Melkib.
He supports manufacturing plants in reducing failures and optimizing bonding processes. He believes that a “good adhesive” is only half of the success—the rest is a repeatable process.